

Ask someone what limits how long they can stay off-grid and they will almost always say power. Then they take the van out for a week, run the solar and lithium exactly as designed, and discover the real constraint was water. Batteries recharge every morning the sun comes up. A 40-gallon fresh tank does not refill itself.
Water is the least glamorous system in a van conversion and the one that most often decides whether a trip gets cut short. It is also the system with the highest consequences when it is done badly, because unlike a wiring fault, a plumbing fault does its damage slowly and out of sight. This is how we approach water on a Patrol Vans build: sizing, tank placement, the pump and plumbing decisions that matter, showers, grey water, and winterization.
Sizing: Start From How You Actually Travel
The useful number is gallons per person per day, and it varies enormously by how the van gets used.
A conservative traveler who cooks simply, washes dishes efficiently, and showers at trailheads or gyms will run somewhere around two to three gallons per person per day. Someone who showers in the van daily, cooks properly, and does not think about it will run six to ten. Families with kids land higher than the arithmetic suggests, because handwashing and dish volume scale faster than headcount.
Multiply by realistic days between fills, then add margin. A couple wanting five days of genuine independence with in-van showers needs roughly 50 to 70 gallons of fresh capacity. The same couple showering elsewhere can do the same five days on 25 to 30.
The reason this matters so much: water weighs 8.34 lb per gallon. A 60-gallon fresh tank is 500 lb when full. Add grey capacity and you are managing three quarters of a ton of moving liquid on a chassis that has already spent most of its payload on cabinetry, batteries, and insulation. Oversizing the water system is one of the most common and most expensive payload mistakes in the conversion world.
The Payload Math Buyers Skip
A Sprinter 3500 has real capacity, but a finished conversion arrives at the scales heavier than almost anyone predicts. By the time the build includes a full electrical system, insulation, cabinetry, seating, and the exterior hardware discussed in our roof rack and awning guide, the remaining payload for water, gear, and people is finite in a way that spec sheets do not communicate.
This is why we would rather build a well-designed 40-gallon system with easy fill access than a 90-gallon system that keeps the van permanently near its limit. Capacity you cannot afford to carry full is capacity you do not have.
Tank Placement: Inside, Underslung, or Both
Where the tanks live is the single most consequential water decision in the build.
Interior tanks sit inside the heated envelope. They do not freeze as long as the van’s interior stays above freezing, they are accessible for cleaning and inspection, and they are protected from road debris. The cost is floor space and headroom — a 40-gallon tank consumes a meaningful volume that could have been storage — and a raised center of gravity relative to an underslung tank.
Underslung tanks mount beneath the floor, between the frame rails or outboard of them. They free up interior volume entirely and put the weight low, which helps handling. The tradeoffs are real: they freeze without heat tape or a tank heater, they are exposed to road salt and impact, and they are considerably harder to service.
Our default on four-season builds is fresh water inside and grey water underslung. Fresh water is what you cannot afford to lose to a freeze; grey water is more tolerant of it and is the tank you want out of the living space for obvious reasons. On builds that will genuinely see cold weather, that pairing works well alongside the heating system covered in our guide to diesel heaters in a four-season Sprinter build, since the same heat that keeps you comfortable keeps the fresh tank liquid.
Tank shape matters more than volume alone. A low, wide tank that fits under a bench or a fixed bed platform is far easier to integrate than a tall cylinder that dictates the layout around it. This is one of several places where the water system and the floor plan have to be designed together rather than sequentially.
Pumps, Plumbing, and the Parts That Fail
Pump Selection
The two practical options are a diaphragm pump with an accumulator, or a variable-speed pump.
Diaphragm pumps are the traditional choice — inexpensive, reliable, widely serviceable. They cycle on and off as pressure drops, which produces the pulsing flow familiar to anyone who has used an RV. An accumulator tank smooths that out substantially and reduces pump cycling, which extends pump life.
Variable-speed pumps modulate output to match demand. The flow is smooth without an accumulator, they are quieter, and they draw less current at partial demand. They cost more and there are fewer field-serviceable parts. On a premium build where the shower experience matters, they are usually worth it.
Either way, size for realistic simultaneous demand rather than maximum theoretical flow. A pump rated well beyond what the fixtures can pass just runs against its own pressure switch.
Plumbing Runs
PEX with crimp or expansion fittings is the standard for good reason: it tolerates freeze expansion far better than rigid pipe, it runs continuously around corners without joints, and joints are where leaks happen. The design principle worth stating plainly is minimize fittings. Every connection is a future failure point.
Runs should be routed inside the insulated envelope wherever possible, secured against vibration, and protected where they pass through structure. Chafe from an unsecured line rubbing a metal edge over 40,000 miles of road vibration is a genuinely common failure and an entirely preventable one.
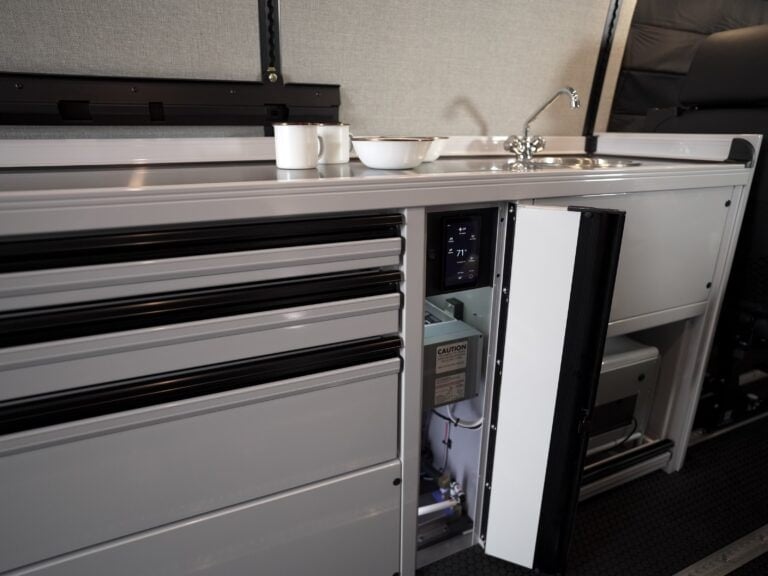
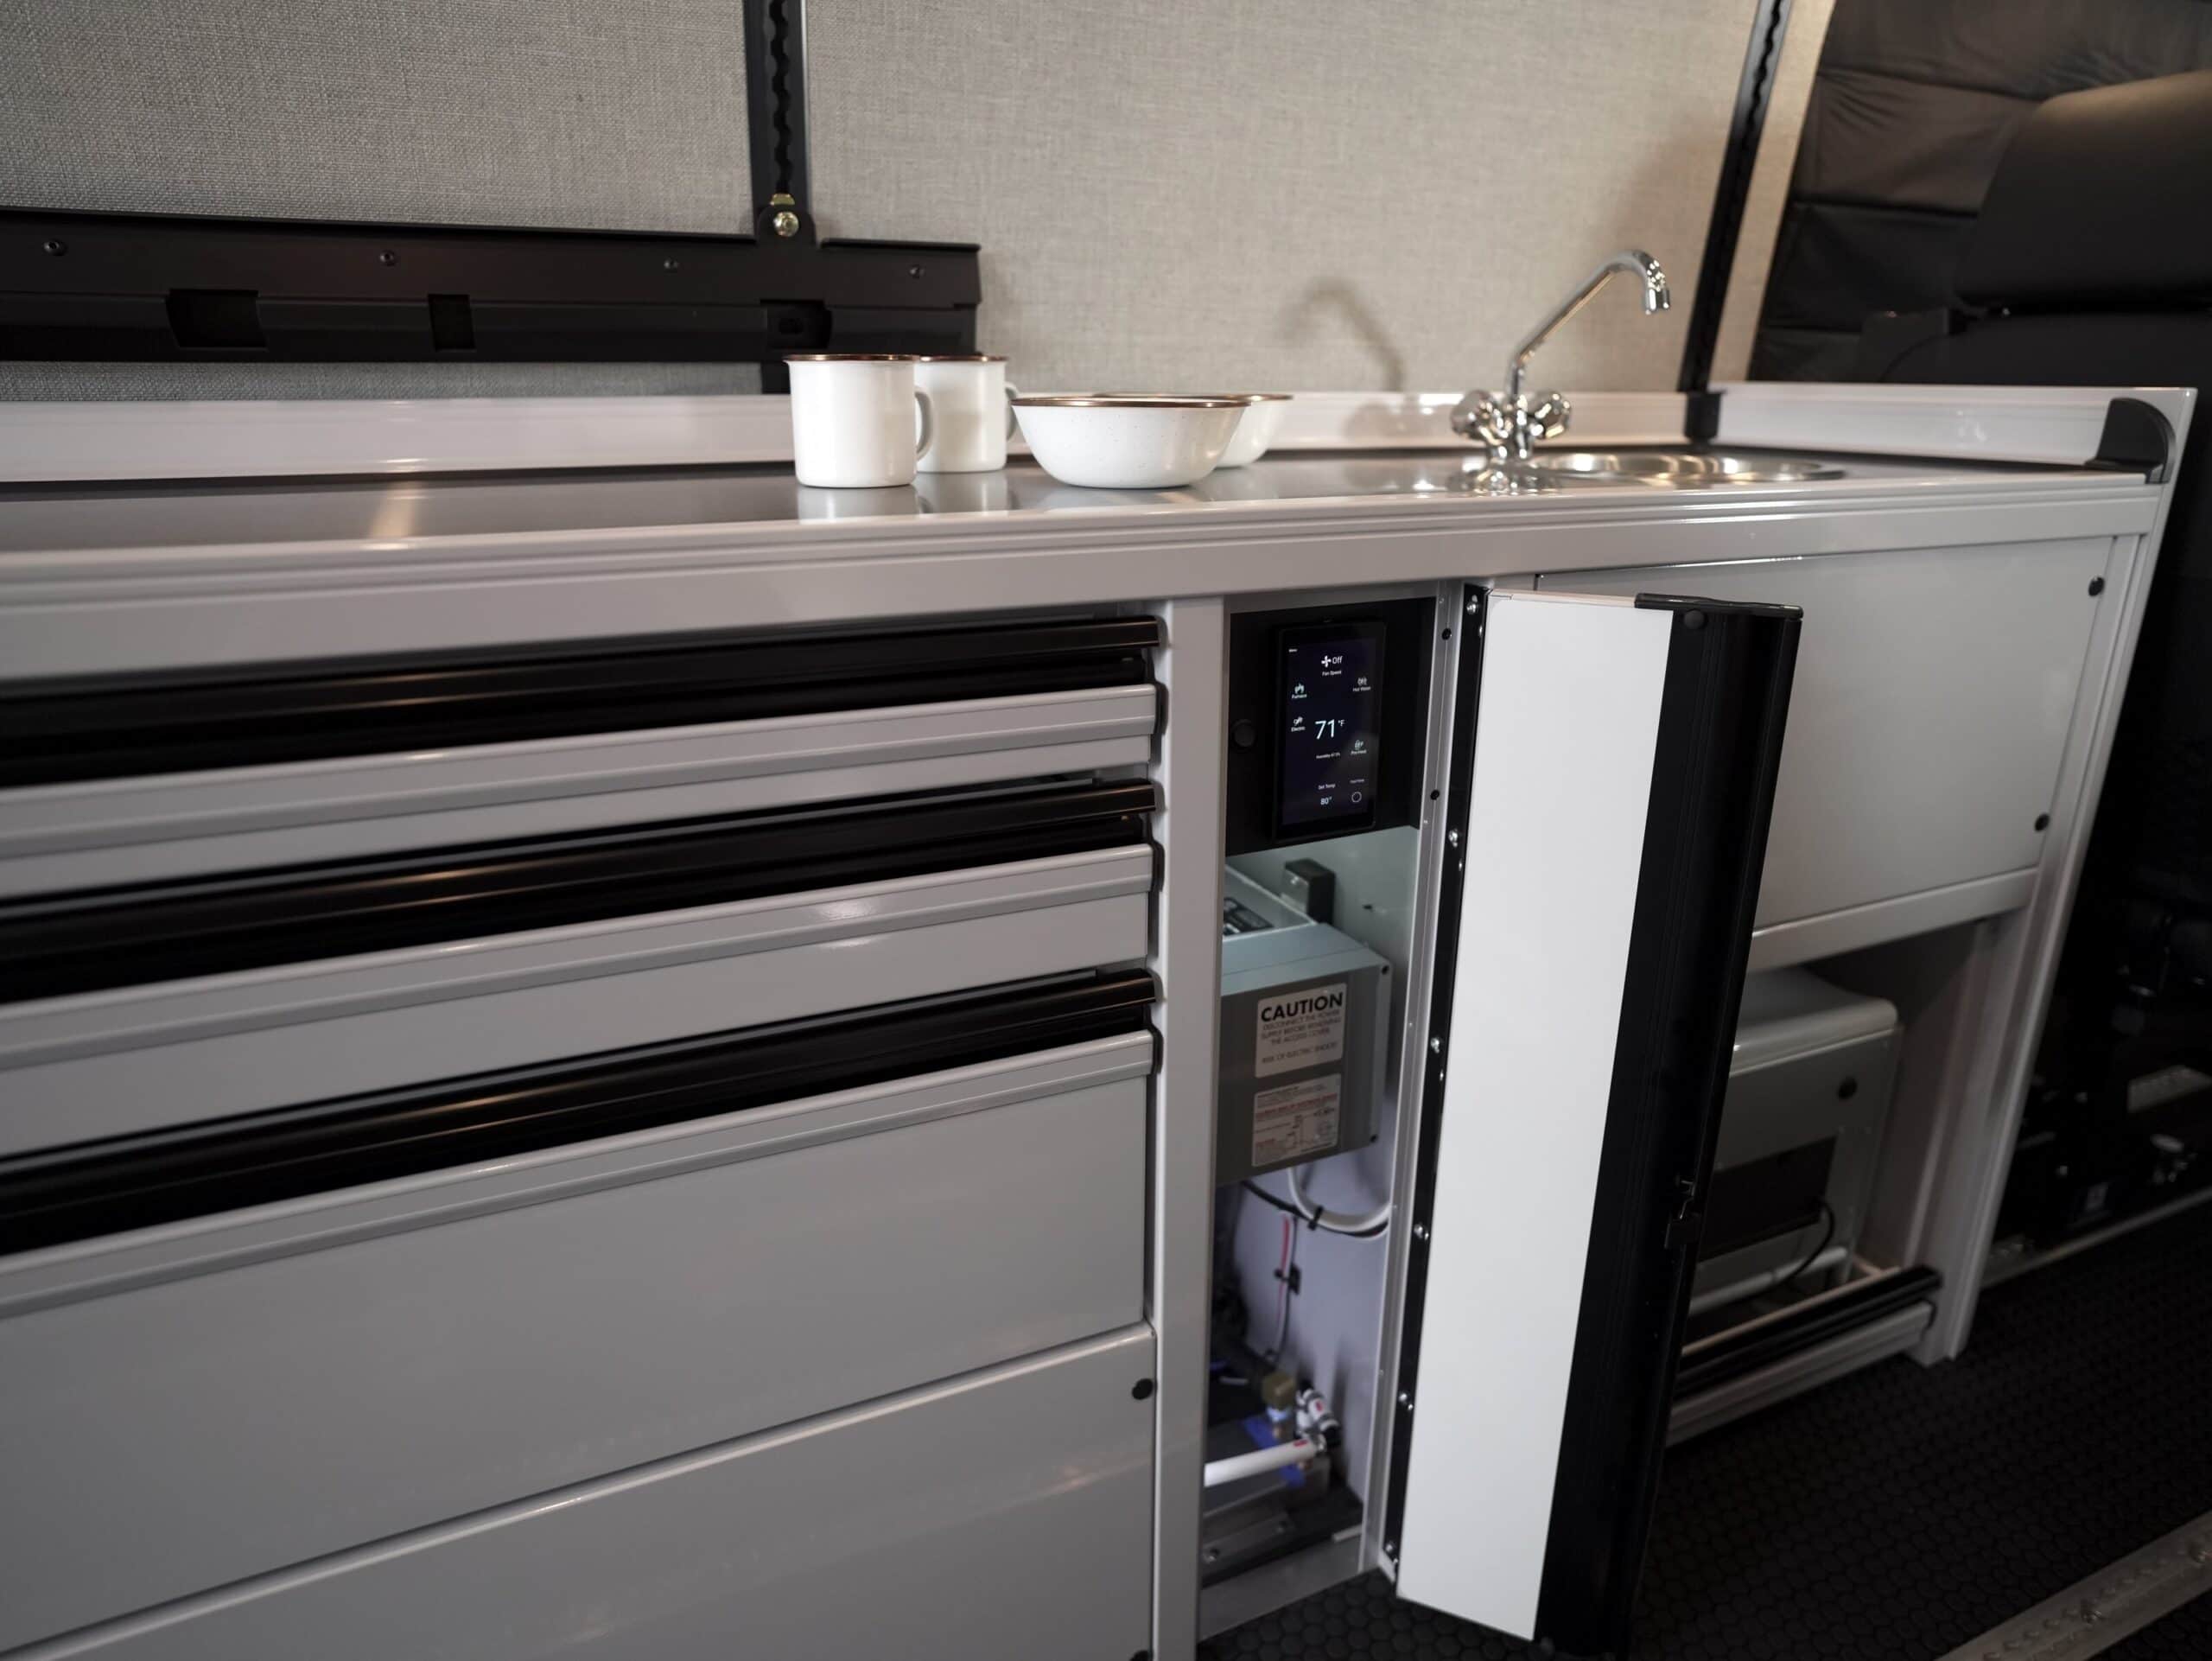
Serviceability deserves more thought than it usually gets. Shutoff valves at each fixture, an accessible pump, a filter you can actually change, and a drain point at the low spot of every run turn a bad day into a twenty-minute job. We build in inspection access at the pump and manifold on every van, because the alternative is cutting into finished cabinetry on the side of a road.
Water Heating
Three approaches cover most builds. A dedicated propane or diesel water heater is fast, independent of the house battery, and adds a fuel system. An electric tank heater running off the lithium bank is simple and silent but expensive in amp-hours — heating water is one of the most power-hungry things a van can do, which is why it needs to be planned against the electrical architecture rather than added afterward. A hydronic system that shares the diesel heater’s burner handles cabin heat and domestic hot water from one appliance, which is elegant and correspondingly more complex and costly.
Showers: Interior, Exterior, or Skip It
The interior shower is the most debated feature in van design, and the honest answer is that it depends on how you travel.
A dedicated interior wet bath consumes three to five square feet of a floor plan that has maybe 60 to work with. It is the right call for people who genuinely live in the van, travel in cold or wet climates, or have kids. It is the wrong call for weekend travelers who will use it four times a year and spend the rest of the time wishing they had the storage.
A wet-bath-over-the-toilet arrangement recovers most of that space at the cost of a more involved dry-down after each use. A shower curtain over a floor drain in the galley aisle is the minimalist version — genuinely workable, and much less pleasant in practice than it sounds when you are planning.
An exterior shower — a hose port at the rear or side with hot and cold — costs almost nothing in space, adds very little weight, and covers the majority of real use cases: rinsing off after a beach day, cleaning gear, washing a dog, filling a bucket. On our EchoVan configurations it is frequently the better answer, and pairs naturally with the off-grid electrical setup that already supports a week away from hookups.
Grey Water and Staying Legal
Grey water is the part of the system people design last and regret first. Two things drive the decision: capacity relative to fresh, and where you can legally dump it.
Grey capacity should be roughly 70 to 100 percent of fresh. Undersize it and you are hunting for a dump station while your fresh tank is still half full, which defeats the point of the fresh capacity you paid to carry. Some builders undersize grey deliberately to save weight and plan on dumping frequently. That works if your travel style supports it and is miserable if it does not.
On the legal side: dumping grey water on the ground is prohibited in most US jurisdictions, and enforcement in popular dispersed camping areas has tightened considerably. A build that assumes casual ground dumping is a build that will eventually create a problem for its owner. Design for a proper grey tank with a valve you can reach and a fitting that mates to standard dump station equipment.
A filtered fill setup is worth including as well. An inline sediment and carbon filter at the fill port protects the tank and the pump and makes potable-source water considerably more pleasant. For guidance on drinking water standards and treatment, the US Environmental Protection Agency maintains the reference material worth reading before choosing a filtration approach.
Winterization Without Draining Everything
Freeze protection breaks into two philosophies.
The first is to keep the whole system inside the heated envelope and run heat whenever temperatures drop. Fresh tank inside, all plumbing inboard of the insulation, grey tank with a thermostatically controlled pad heater. Combined with proper insulation, this lets a van operate in genuine winter conditions without special procedures — you simply do not let the interior drop below freezing.
The second is to design for easy drain-down: low-point drains on every run, a bypass at the water heater, and a blow-out fitting. This is the right approach for a van that gets stored cold between trips, or for anyone who does not want to run heat continuously while parked.
Most well-built four-season vans do both. Heat as the primary strategy, drain-down as the backup for storage. The failure mode we want to avoid is the third option, which is having neither and discovering a split PEX line behind a finished wall in March.
Frequently Asked Questions
How big should a Sprinter van water tank be?
For most travel builds, 30 to 45 gallons of fresh water strikes the right balance between independence and payload. Couples showering in the van and wanting five or more days off-grid should look at 50 to 70. Weekend travelers who shower elsewhere are well served by 20 to 30. Because water weighs 8.34 lb per gallon, every added gallon is payload spent, so size against how you actually travel rather than the longest trip you can imagine.
Should the water tank go inside the van or underneath?
Fresh water generally belongs inside the insulated envelope, where it will not freeze and can be inspected and cleaned. Grey water is a good candidate for an underslung tank, since it frees interior space, keeps the weight low, and removes waste water from the living area. Underslung tanks in cold climates need heat pads or heat tape regardless of contents.
How much power does a van water system use?
The pump itself is trivial — a few amp-hours a day even with regular use. Water heating is the expensive part. An electric water heater can draw 1,000 to 1,500 watts and consume a significant share of a daily solar harvest. This is why diesel, propane, or hydronic water heating is common on builds that prioritize off-grid duration, and why water heating has to be planned against the electrical system rather than added later.
Can you use a van water system in freezing weather?
Yes, with the right design. Keeping the fresh tank and all plumbing inside the insulated envelope, adding a heat pad to any underslung tank, and running cabin heat when temperatures drop allows normal operation well below freezing. Vans stored cold between trips should also have low-point drains and a water heater bypass so the system can be drained fully.
Do I need a grey water tank?
In practical terms, yes. Dumping grey water on the ground is prohibited across most of the US and increasingly enforced in popular camping areas. A proper grey tank sized at roughly 70 to 100 percent of fresh capacity, with an accessible valve and a standard dump fitting, is the only approach that works everywhere you are likely to travel.
What is the most common water system failure in a van?
Leaks at fittings and chafe on unsecured lines, by a wide margin. Both are preventable at build time by minimizing the number of joints, using continuous PEX runs, securing lines properly, and protecting anywhere a line passes through or near metal. Pump failures happen but are usually a straightforward replacement; a slow leak behind finished cabinetry is the expensive one.
Building a Water System You Can Trust
Good water systems are unremarkable. You fill them, you use them, and you do not think about them. Getting there means being honest about consumption, disciplined about payload, deliberate about where tanks live relative to the insulated envelope, and thorough about the unglamorous details — securing lines, minimizing fittings, and leaving yourself access to everything that can fail.
If you are working through a build and want to think through how water, power, and layout interact on your specific use case, schedule a consultation with the Patrol Vans team. You can also explore the EchoVan configuration, which is built around extended off-grid capability and shows how these systems are integrated from the start rather than fitted around each other.